Do you agree with me and the Barenaked Ladies that vanilla is the finest of the flavors? If you do, and/or if you remember that song, you should definitely make some vanilla-infused gifts this holiday season.
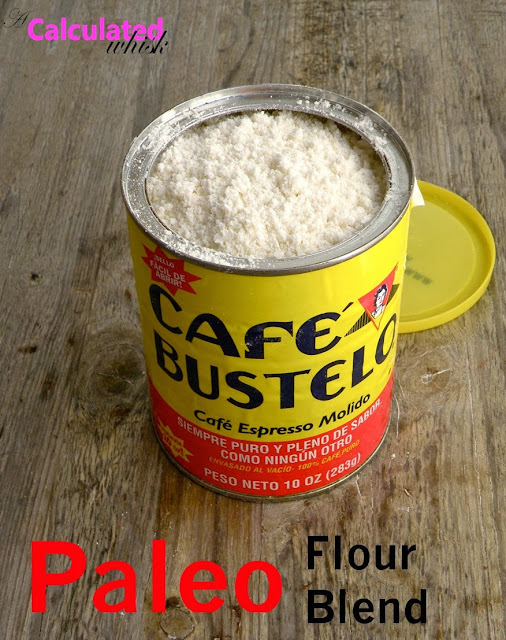
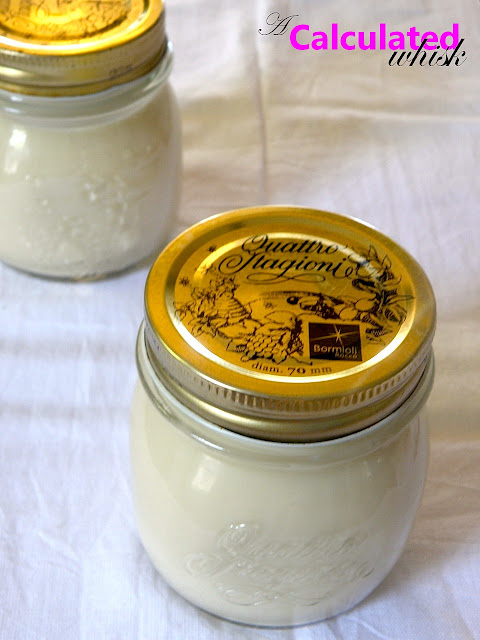
Vanilla sugar can be used anywhere you would use granulated sugar, but it’s especially wonderful as a finishing sugar, sprinkled on top of cakes, cupcakes, creme brulee, homemade caramels, or ice cream. You can also put it in your coffee or tea for a delicious touch of creamy sweetness. Are you sold on vanilla sugar yet? If not, I’m not sure what to do with you! You can even make it with coconut sugar for a paleo-friendly vanilla treat. You know you want to!
If you love sweet and salty flavors together, you will love this vanilla sea salt. I made mine with Celtic gray coarse sea salt, and it’s strikingly beautiful, fragrant, and complex. You can sprinkle it on top of any dessert that needs a salty finish (like these cupcakes or these bars), or even try adding it to savory dishes. I used a bunch in a batch of chocolate bark I made last night, and it was amazing (recipe coming soon)! Once you make this, you’ll realize that salt and vanilla are meant to be together. You’ll start wishing all your vanilla were salted, and all your salt vanilla-ed.
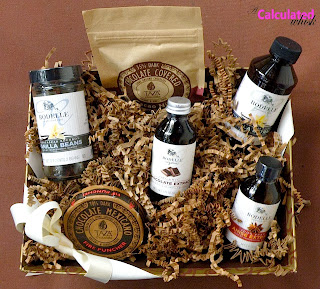
I made a bunch of little jars of vanilla sugar to give out as favors to all my friends and family who are coming for Thanksgiving. I love the idea of giving guests something delicious that they can take home and use for a long time. Both of these would also make great stocking stuffers, hostess gifts, and wedding favors. The best part is that they only take about five minutes to make!