A Calculated Whisk

Creative paleo and gluten-free recipes

  • Home
  • About Me
    • Photography Portfolio
  • Cookbook
  • Recipe Index
  • Paleo
    • Paleo Eating
    • A Paleo Pantry
  • Blogging
You are here: Home / Archives for pantry essentials

Instant Pot Chicken Stock (Bone Broth)

February 1, 2016 By Becky 43 Comments

Instant Pot Chicken Stock (Paleo, Whole30) | acalculatedwhisk.com

Instant Pot chicken stock is so much easier and faster than the stovetop version! The finished stock is wonderful on its own or in any number of paleo soups, sauces, and braises.

Looking for more Instant Pot recipes? Check out my easy mashed potatoes, ropa vieja, and five-ingredient carnitas (or see them all here).

I’ve been talking about my weekly routine of roasting a whole chicken ever since the first wisp of cool air blew into Chattanooga in the fall, and I’m still going strong. Since buying myself an Instant Pot on Black Friday, though, the process of making the chicken bones into stock has gotten so much faster and more flexible.

I used to have to set aside a whole morning or evening at home to make stock since it needs to simmer on the stove for such a long time, but I can make Instant Pot chicken stock, start to finish, in less than two hours. (In case you haven’t had the pleasure of using one yet, and Instant Pot is an electric pressure cooker that cooks food extremely fast, and can replace both your rice cooker and your slow cooker. It’s so much fun!)

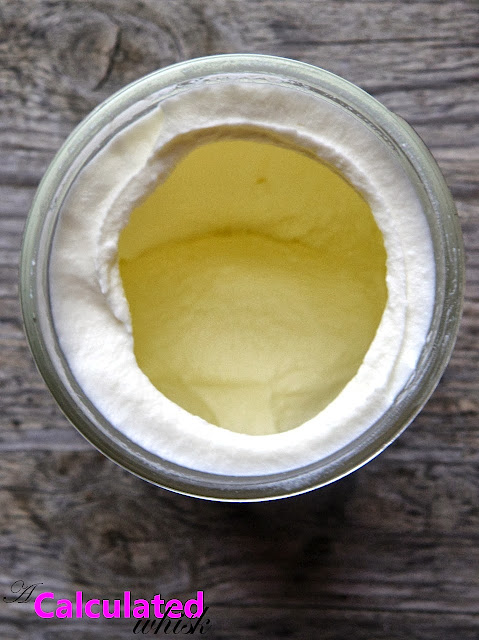
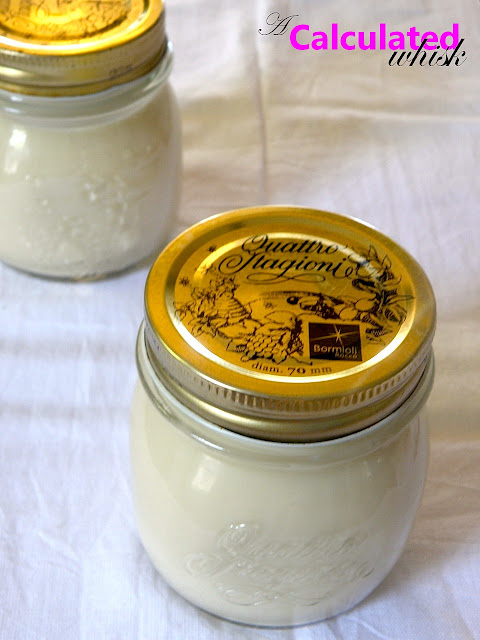
Instant pot chicken stock is more delicious, too–pressure cooking condenses all the wonderful flavors and aromatics perfectly. (And by the way, this is bone broth! The only reason I didn’t name the recipe Instant Pot Bone Broth is that I don’t really like the way the phrase “bone broth” sounds. But bone broth is really just amped-up stock with a large ratio of bones to other ingredients, and this definitely fits the bill. It also gels up wonderfully in the fridge, so there’s plenty of collagen in it!)

Instant Pot Chicken Stock (Paleo, Whole30) | acalculatedwhisk.com

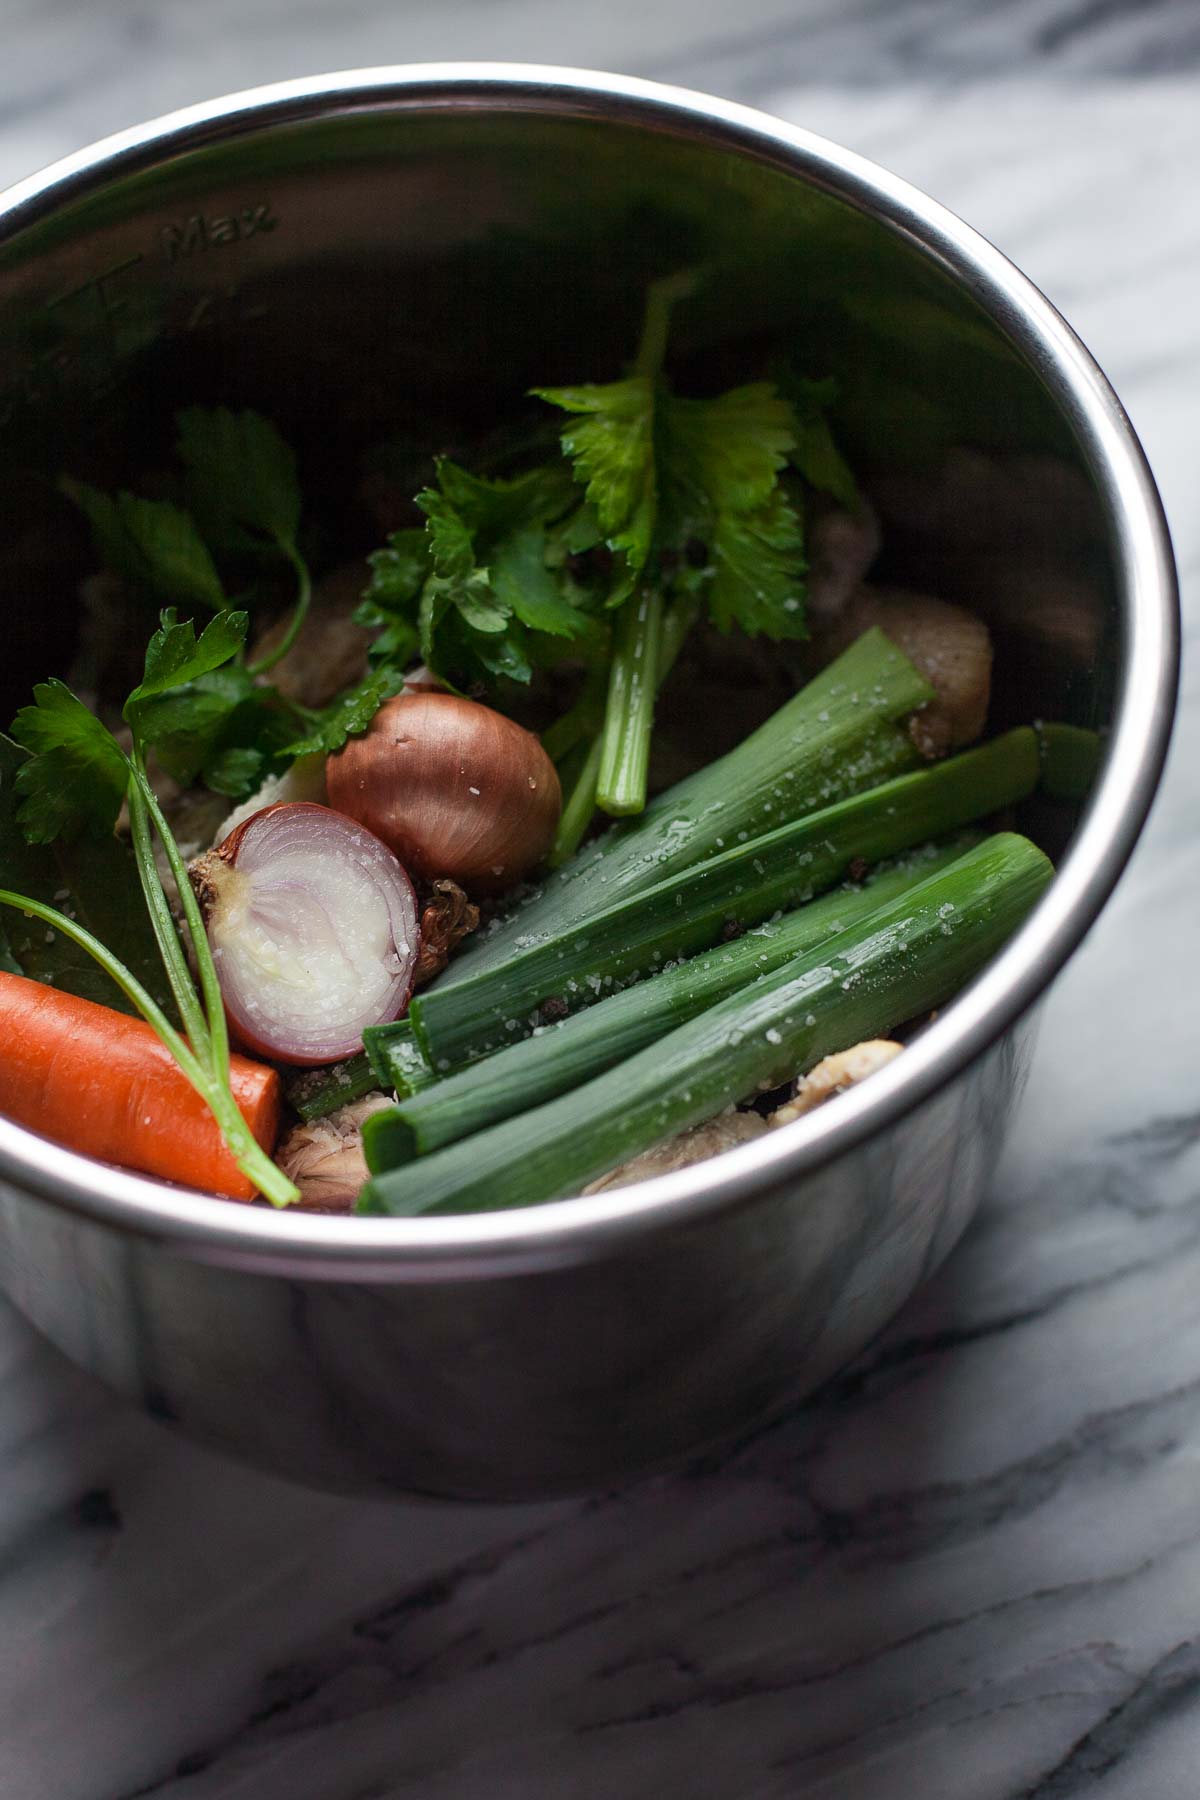
Here’s the before and after of all the bones, aromatics, and seasonings in the Instant Pot. I used carrot, celery, shallot, leek, parsley, bay leaf, salt, and pepper. If you’re missing one or two of the vegetables, you can definitely still make a nice stock.

You can also use a small onion if you don’t have shallots and leeks, but I love the extra-savory richness that they give to chicken stock!

I’ve played around with also adding one or two smashed cloves of garlic, but have decided I prefer my stock without. This is in part because I like to have a steaming mug of it first thing in the morning when it’s chilly out, and I’m just not ready for garlic at breakfast time. Of course, if you want some in there, go ahead and add it! You can also play around with adding a little bit of rosemary and thyme along with or instead of the parsley.

Read More…

Filed Under: gluten free, Instant Pot, paleo, recipe, soups, whole30 Tagged With: chicken, grain free, instant pot, pantry essentials, pressure cooker

Paleo Flour Blend Recipe

November 15, 2013 By Becky 114 Comments

Looking for paleo dessert recipes? Sign up for my email list to get a free e-book of my top 12 grain-free dessert recipes!

Paleo Flour Blend | acalculatedwhisk.com

This easy-to-make paleo flour blend works beautifully as a cup-for-cup replacement  for all-purpose flour in many dessert recipes!

Are you as addicted to baking as I am?  Are you also, like me, trying to eat healthier food without spending all day and night in the kitchen?  This paleo flour blend is for you.  When you bake grain-free, you can make delicious treats without all the guilt and gluten.  

When I stay gluten-free, I have more energy and fewer tummy problems.  Even if you’re not technically gluten-intolerant, you may still feel better without it!  I also bet your hips will thank you.

To save time in the kitchen, this flour blend creates a one-stop-shop for gluten-free baking: you measure once and get the benefits of three grain-free flours in precise balance with each other.  If you haven’t tried baking without grains yet, whip up a batch of this flour blend!  Then start experimenting, and see who you can fool.  I bet you’ll be hearing, “I can’t believe this is gluten-free!” in no time.

I like to make my baked goods with a combination of almond flour, tapioca starch (also known as tapioca flour), and coconut flour. The almond flour lends flavor and richness, the tapioca starch adds lightness and helps with browning, and the coconut flour helps achieve a cake-like texture.  

I’ve been experimenting with the best ratio for these three flours, and have settled upon 3:2:1–three parts almond flour, 2 parts tapioca starch, and 1 part coconut flour.

Once you have the right quantities, the next step is to sift the three flours together to make a blend, so that you only need to measure my flour once to make a recipe.  You can of course make any amount of this flour blend by following the 3:2:1 ratio; the recipe below will make about four cups.

You can start by using this flour blend in these molten chocolate cakes (pictured above)–just use 6 tablespoons of the blend instead of the smaller quantities of each type of flour. Next you can use it in these Mexican brownies!

I’m experimenting with substituting this flour blend cup-for-cup for all-purpose flour in regular recipes, and will update this post to reflect which recipes I’ve had success with.  I can’t guarantee that this will be an effective flour substitute in every case, but it’s a great place to start.  If this blend works for you with a particular recipe, leave a comment with a link below so others can try it, too!

Update: I used this blend instead of all-purpose flour in this blondie recipe from Smitten Kitchen with great results!  I also used coconut sugar instead of brown sugar, but other than that I followed the recipe exactly.

Note: I haven’t tested substitutions for this recipe, but some readers have, so try searching the comments if you have a question!

If you enjoyed this flour blend, come join me on Instagram to stay in the loop as I develop new recipes!
Read More…

Filed Under: gluten free, paleo, recipe, vegan, vegetarian Tagged With: almond flour, baking, coconut flour, five ingredients or less, flour, ingredients, pantry essentials, tapioca starch

Make Your Own Butter (plus Maple Spice Compound Butter)

October 12, 2013 By Becky Leave a Comment

When I was in kindergarten, my teacher brought in cream and we all made butter together.  I loved it, and butter-making became a Thanksgiving tradition for me–every year I make my own butter and use a cookie cutter to make it into a turkey shape.  I’ve also made butter with my own students and their families several times, and I’m always surprised at how many parents don’t know that you can easily make your own butter at home with just a jar and some heavy cream.
There is a bit of work involved, since you need to shake the jar like crazy for a while.  It’s easy with a group because you can pass the jar to the next person if you get tired, but I can still get from cream to butter in 15 minutes or less when I’m the only one shaking.
Of course, there is an easier method: pour the cream into a big bowl and beat it with an electric mixer.  However, there’s something really nice about doing it the old-fashioned way.

Read More…

Filed Under: gluten free, recipe, uncategorized, vegetarian Tagged With: butter, cream, DIY, fall, how-to, make your own, maple, pantry essentials, photo tutorial, spice

Make Your Own Almond Milk

August 12, 2013 By Becky 2 Comments

Here’s how to make your own almond milk at home. It’s paleo, vegan, and easy to make–and the results are way more delicious than store-bought versions!

Do you drink coffee?  How do you take yours?  Have you ever had to switch the way you make your morning coffee?
One of the hardest parts about the whole30 for me has been adjusting what I put in my coffee.  I used to put lots of 2% milk and a little agave or stevia, plus sometimes a few drops of vanilla.  It wasn’t that hard eliminating the sweetener, because I love the simple synergy of milk and coffee.  Since I also love coconut milk, I thought that might be a great choice for my morning cup.  But coconut milk is terrible in coffee.  It’s too thick.  Even light coconut milk in a carton is too thick (and has icky things like carageenan added to it).  Coffee shouldn’t be viscous, so coconut milk is out.

The next thing I tried was almond milk.  It’s hard to find unsweetened almond milk without too many additives, but the Whole Foods brand wasn’t too bad.  And when I put that almond milk in my coffee, it was fine.  I had to put a lot more almond milk than regular milk, because you can pour in a lot of almond milk before your coffee stops looking (and tasting) totally black.  Anyway, coffee with store-bought almond milk is okay, but I figured I could do better.

This homemade almond milk is easy, and you can add a little whole30-friendly sweetness by putting in a few dried apricots (or dates).  The ingredients list is short and wholesome, and the result is much more delicious than what you find at the store.  Creamy and subtly sweet, this homemade almond milk is by far the best nondairy milk I’ve found to go with my morning coffee.  Of course, it’s also great on its own or blended into smoothies.

This recipe makes lightly sweetened vanilla almond milk; just omit the vanilla and dried fruit if you would like to make plain almond milk.

Ingredients (makes about 2 and 1/2 cups; adapted from Choosing Raw):

1 cup raw almonds
Water for soaking
3 cups water
Pinch of salt
2-4 dried apricots or dates, pitted and soaked in hot water (optional)
1 teaspoon vanilla extract (optional, omit for Whole30)

Equipment:

Cheesecloth or a nut milk bag

Soak the almonds in water to cover for at least two hours, or up to eight.  Drain and rinse the almonds and discard the soaking water.  Place the almonds, 3 cups of water, salt, apricots or dates, and vanilla in a blender.  Blend on high speed for a minute or so until smooth.

Line a sieve with cheesecloth and place over a large bowl, or place a nut milk bag over a large jar, securing it with a rubber band.  Pour the almond milk into the sieve or nut milk bag.  Allow it to drain for up to an hour (or if you are impatient like me, squeeze the cheesecloth or bag to remove as much liquid as possible).  Discard pulp, or save to use in smoothies.  Store almond milk in the refrigerator for 2-3 days, and shake before using.

This post contains affiliate links.  If you make a purchase on Amazon after clicking one of my links, I receive a small commission (the price you pay is not affected).  Thank you so much for supporting my site!

Filed Under: drinks, gluten free, paleo, recipe, vegan, vegetarian, whole30 Tagged With: almond, almond milk, dairy free, five ingredients or less, make your own, no-cook, pantry essentials

Hi, I’m Becky!

Welcome to A Calculated Whisk, where I share creative paleo and gluten-free recipes. Learn more about me here.

Connect with ACW on social media:

  • Email
  • Facebook
  • Instagram
  • Pinterest
  • RSS
  • Twitter

Looking for something?

Subscribe via email and get a free e-book!

Instant Pot Recipes

Instant Pot Colcannon

Instant Pot Colcannon

Instant Pot Balsamic Short Ribs

Instant Pot Tomato Sauce (made with fresh tomatoes)

Instant Pot Short Rib Ragu

Instant Pot Short Rib Ragu

In a hurry? Try these 30-minute recipes:

Spiced Beef and Sweet Potato Bowls with Crispy Eggs

Mole-Spiced Hanger Steaks with Strawberry-Avocado Salsa

Mole-Spiced Hanger Steak with Strawberry-Avocado Salsa

Instant Pot Potato Leek Soup with Cauliflower

Curry Butter Shrimp (Paleo, Gluten free)

Curry Butter Shrimp

my healthy aperture gallery
rodelle brand ambassador

Privacy Policy

All text and photographs (c) Rebecca Winkler 2013-2020 unless otherwise noted.

Copyright 2013-2020 Rebecca Winkler · Foodie Pro Theme by Shay Bocks · Genesis Framework · Powered by Wordpress