A Calculated Whisk

Creative paleo and gluten-free recipes

  • Home
  • About Me
    • Photography Portfolio
  • Cookbook
  • Recipe Index
  • Paleo
    • Paleo Eating
    • A Paleo Pantry
  • Blogging
You are here: Home / Archives for recipe / vegetarian / vegan

Make Your Own Vanilla Extract

May 11, 2013 By Becky 2 Comments

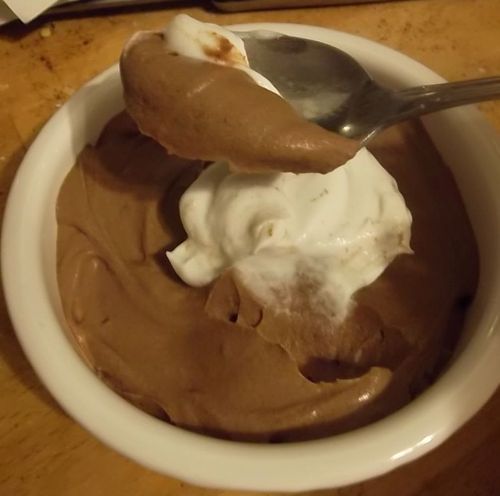
Vanilla is such an important ingredient.  It goes into pretty much every dessert I make, and lately I’ve started putting a capful in my morning coffee, too.  Sometimes when I’m baking, the worst thing happens.  I suddenly realize there are only three drops of vanilla left in my little bottle.  This has been happening all too frequently since I developed my vanilla cafe au lait habit, so I decided to put an end to my vanilla extract shortages for good.  I got the idea to make my own vanilla extract from this post on Sunday Morning Banana Pancakes.

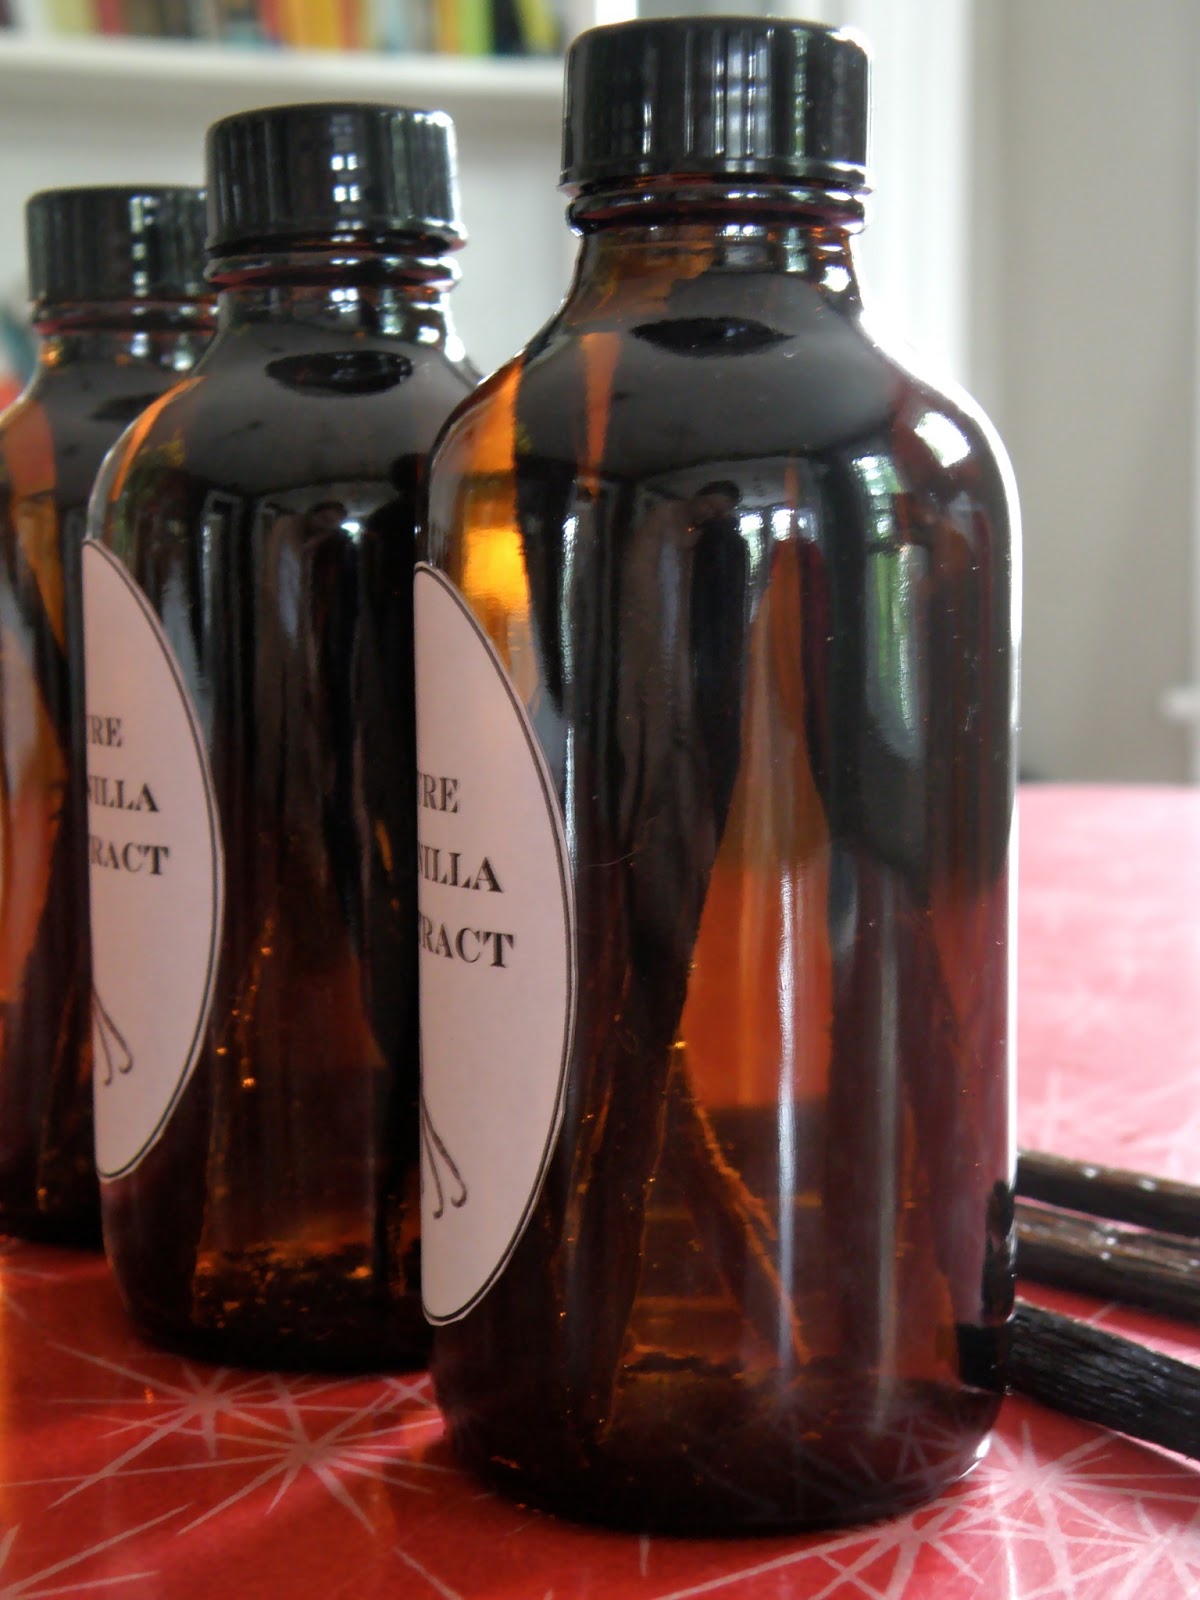
All you need are some cute little bottles (I used these), vanilla beans (I got these Madagascar beans), and some vodka.  It doesn’t have to be high quality vodka–the quality of the beans is much more important.  Vanilla beans are expensive, but more reasonable if you buy a bunch of them.  Also, vanilla extract is expensive, so I think if you use enough of it you’ll definitely save money by making your own.  If you don’t want to make all the beans you buy into extract, you can store some in an airtight container to use in baking or custards.  A lot of desserts call for vanilla bean seeds instead of extract, so it’s great to have some around.  As soon as I get my ice cream maker, I am going to use my leftover beans to make vanilla bean ice cream with those great little specks of vanilla seeds in it.

Guess what?  This vanilla extract would make a great gift, and is a gift that keeps on giving.  If you start running low, just top off the vodka and let it sit for a few weeks before using it again.  After doing this a couple of times, you will probably want to add some new beans.  Ina Garten says she’s been doing this to refresh the same bottle of vanilla that’s been in her pantry for twenty years!

Ingredients:

Vanilla beans (6 beans per cup of vodka)
Vodka

Make sure your bottles are really clean.  I sterilized mine by boiling them in water for ten minutes.  Let them dry completely (I put mine in the dishwasher top rack to dry).

Cut each vanilla bean in half lengthwise, and then crosswise to fit in your bottles if you’re using small ones like me.  I used three beans for each of my four-ounce bottles.  Pour in vodka, leaving a little bit of space at the top (if you can find a funnel, you won’t make as much of a mess as I did).  Store in a cool, dark place, and shake every day or so.  The extract will be ready after two months, but continues to develop a more pronounced flavor if aged longer.

I made my labels in Microsoft Word, printed them on regular paper, and stuck them on with a permanent glue stick.  I can’t figure out how to post the document up here for you to download, but if you want these labels, drop me a note with your email address and I’ll send them to you.

Filed Under: uncategorized, vegan, vegetarian Tagged With: DIY, extract, make your own, vanilla

Strawberry & Cream Margaritas

May 5, 2013 By Becky Leave a Comment

You didn’t think I was going to leave you without an idea of which margarita to enjoy with your cupcakes, did you?  I am here for you! 
This is delicious.  I am not sure if it really counts as a margarita, but it has tequila in it.  And it has something on the rim (not salt, but who’s counting?).
Ingredients (makes two servings):
1 cup frozen strawberries
1 cup coconut milk
4 ice cubes
2-3 shots silver tequila
Squeeze of lemon or lime juice, plus extra
1/2 teaspoon vanilla
2-3 tablespoons honey (for a paleo-friendly version) or agave nectar (for a vegan version)
Sugar for glasses
Blend all ingredients except the sugar in a blender until smooth.  Taste, and add more lemon juice or agave nectar (or tequila!) if desired.
Dip the rims of two glasses into lemon juice and then sugar.  Pour into the glasses and enjoy!
¡Salud!

Filed Under: drinks, uncategorized, vegan Tagged With: cinco de mayo, cocktails, coconut, margarita, Mexican, strawberry

Red Curry Vegetable Noodle Bowl

May 2, 2013 By Becky 2 Comments

I LOVE curry made with coconut milk.  It’s the most delicious thing ever.  But, I am not the biggest fan of rice.  I mean, rice is fine, but for me it’s nothing to write home about.

But, noodles?  Noodles are my jam.  All kinds of noodles.  Italian noodles, Asian noodles…where are the noodles in Indian and Mexican cuisines?  Big problem.  Someone get on that quick.

Anyway, whenever I see noodles, I’m interested.  Even in places where noodles might not seem to belong–bring on the noodles!  One of my favorite Thai restaurants has a dish called Noodle Curry, which is a delicious yellow curry served over udon noodles.  Genius!  Curry and noodles are a match made in heaven.  Watch out, rice.  You ain’t got nothing on noodles.

Ingredients (adapted from The Little Foodie):

1 pound rice noodles
1/3 cup coconut cream (scrape off the top of a can of coconut milk that has not been shaken)
3 tablespoons red curry paste
2 Japanese eggplants, halved lengthwise and sliced into half-moons
1 red bell pepper, seeded and sliced into strips
1/2 onion, chopped
4 cloves garlic, chopped
3-4 tablespoons fish sauce (omit for a vegan or vegetarian dish–you may need to add some salt)
1 can coconut milk (Not the same can you scraped the cream off of!  We need a lot of coconut love here.  Save the other can for smoothies!)
1-2 tablespoons brown sugar
1/2 pound snow peas
Sliced scallions and chopped fresh cilantro for serving

Boil water and cook the noodles according to the package directions.  Drain and set aside.

Heat the coconut cream in a skillet over medium-high heat.  When it bubbles, add the curry paste and stir to mix.  Add the eggplant and cook, stirring occasionally, for about ten minutes.

Add the pepper and onion and mix well.  Cook for five more minutes.  Add the garlic, fish sauce, coconut milk, brown sugar, and snow peas.  Cover the pot, and turn the heat down so the mixture simmers.  Cook for about five more minutes, or until the snow peas are cooked but still crunchy and bright green.

Serve noodles in a bowl with vegetables and curry spooned on top.  Garnish with chopped scallions and cilantro and serve hot.

Filed Under: dinner, recipe, uncategorized, vegan, vegetarian Tagged With: Asian, curry, healthy, noodles, vegetables

Arepas with Black Beans and Corn & Avocado Salsa

April 30, 2013 By Becky 7 Comments

 
I have been dying to make something with avocado ever since I got Gaby Dalkin’s amazing cookbook, Absolutely Avocados, in the mail.  Tons of bloggers have been posting recipes from her book in honor of its release, and after I saw Recipe Girl’s photos of Gaby’s Bacon, Avocado, and Corn Salad, I was determined to make that.
 
However, due to a bout of laziness, I was only able to make it to the small Vietnamese store down the street.  No bacon, no cheese, no fresh corn.  I was forced to re-imagine my dinner plans.
 
In my opinion, anything with avocado and corn is pretty fabulous, even if the corn is frozen.  But, the two together don’t really quite make up a meal.  I picked up a can of black beans, imagining tacos with a corn and avocado salsa.  Alas, no tortillas.  However, I did stumble across a section chock full of tortilla ingredients.  A bag of creamy yellow masarepa
caught my eye, and guess what?  It had a super easy recipe for arepas right on the back.
 
If you’ve never had arepas, you need to try them!  They are a lot like pupusas, and super easy to make.  If you live in Boston, you can choose from all kinds of delicious, cheese-stuffed arepas at Orinoco.  Either way, you should definitely try this recipe.
 
Serves 3-4 as a main course or 8 as a first course.
 
 
Ingredients for the corn and avocado salsa:
 
1 tablespoon butter or olive oil
1 1/2 cups frozen corn
4 scallions, sliced
1 tablespoon chopped fresh cilantro
Juice of one lime
1 ripe avocado, peeled and small diced
Salt and pepper to taste
 
Heat the butter or olive oil in a skillet over medium heat.  Add the corn and season with salt and pepper.  Cook for about five minutes, until the corn is tender.  Remove from heat.
 
After the corn cools a bit, combine with the rest of the ingredients and add more salt, pepper, and lime juice as needed.
 
Ingredients for the black beans (adapted from the back of the Goya can I used):
 
2 tablespoons olive oil
3 cloves garlic, minced
1 15 ounce can low-sodium black beans 
3/4 cup water
1 teaspoon dried oregano
1 packet Sazón Adobo seasoning
1 tablespoon apple cider vinegar
Pinch of sugar (optional)
Salt to taste
 
Heat the olive oil over medium heat, and saute the garlic until fragrant and lightly browned.  Add the beans, water, seasoning, and vinegar.  Bring to a boil, and then simmer for ten minutes.  Taste for seasoning, adding sugar and/or salt as desired (I used a bit of both).
 
Ingredients for the arepas (from the back of the Goya bag):
 
2 cups precooked masarepa
(fine yellow cornmeal)
1 teaspoon salt
3 cups warm water
Butter or olive oil for cooking
 
Mix together the masarepa, water, and salt, and let it sit for five minutes.  Heat the butter or olive oil in a heavy skillet over medium high heat.  Use your hands to form patties that are about 4 inches wide and half an inch thick.  Make sure the skillet is very hot before you add the arepas.  Cook until browned and crisped on both sides, 10-15 minutes total.  I recommend letting the arepas sit for the first five minutes without moving them, because at first they are vulnerable to falling apart.
 
The recipe said you can mix in some shredded cheese right before forming the patties, so I might have to try that next time.  Let me know if you give that version a whirl!
 
 
Serve the arepas topped with beans and salsa, with a wedge of lime for squeezing on top.
 
This is a perfect recipe for Cinco de Mayo!  Do you have plans to cook anything else fabulous for the big day?


This post contains affiliate links. As an Amazon Associate I earn from qualifying purchases.

Filed Under: dinner, recipe, uncategorized, vegan, vegetarian Tagged With: arepas, avocado, beans, corn, healthy

Spring Salad with Citrusy Shallot Vinaigrette

April 29, 2013 By Becky Leave a Comment

Guess what?  May is National Salad Month.  I never realized this before I started a food blog, but almost every day is a special holiday celebrating a particular kind of food.  In addition, each month is associated with a few different foods.  May is not just about salad–it’s also National Barbecue Month and National Strawberry Month.  

Some of these food holidays are great!  National Butterscotch Brownie Day on May 9th?  Now that’s something I can get behind.  Others, like National Escargot Day (which happens to fall on my birthday, May 24th), are less appealing.
Do you want to check out the full list of food holidays?  Yeah, I thought so.
Since food holidays are so ubiquitous, I clearly can’t do a post in honor of every single one.  But, since I’ve been trying to eat more healthy food, I couldn’t pass up the chance to kick off National Salad Month with this little recipe.
This is just a side salad, but the dressing is super fresh and light and features all my favorite flavors.  You could easily turn this into a meal by adding some grilled chicken or shrimp and avocado.
Ingredients for the salad:
Spring mix (like this one from Dole Salads)
Citrusy Shallot Vinaigrette:
1 garlic clove, minced
2 tablespoons minced shallot (about half a shallot)
3 scallions, thinly sliced
1 tablespoon chopped parsley
1/4 cup plus 1 tablespoon olive oil
Juice of half a lemon
Juice of half an orange
Salt and pepper to taste
Whisk all the dressing ingredients together.  Toss with the spring mix to taste.
I couldn’t resist taking a few pictures of the beautifully springy dressing ingredients.  Were scallions the original inspiration for the whole ombre trend?
What’s your favorite salad this spring?

Filed Under: recipe, uncategorized, vegan, vegetarian Tagged With: dressing, healthy, salad

Make Your Own Chocolate Truffles (plus Vegan Coconut Almond Truffles)

April 8, 2013 By Becky Leave a Comment

Chocolate truffles are so easy to make, it’s amazing that places like Godiva get away with charging so much for them.  If you want yours to be even more like the ones at the chocolate shop, you can melt your favorite milk or dark chocolate and dip the chilled truffles in it instead of rolling them in cocoa powder and confectioner’s sugar.  Use a fork to remove the truffle once it’s covered in melted chocolate.  Let the extra drip off, and place the truffle on wax or parchment paper or in a candy cup.   This is a deliciously rich, fancy, no-bake dessert that will impress anyone.  Chocolate truffles also make a great gift wrapped up in a cellophane bag or placed in a decorative box or tin.  This recipe makes about 20 truffles.

Ingredients (adapted from Barefoot in Paris by Ina Garten): 
       ½ cup heavy cream
       3.5 ounces bittersweet chocolate
       3.5 ounces semisweet chocolate
       1 tablespoon brewed coffee
       ½ teaspoon vanilla or other flavoring
       Pinch of salt
       1 tablespoon Grand Marnier or other liqueur of your choosing
       5 ounces melted chocolate for dipping (optional)
       Cocoa and powdered sugar for rolling (optional)
Break the chocolates into small pieces and place in a bowl (don’t use chocolate chips instead of bars, because they have additives you don’t want in this recipe).  Bring the cream to a boil, then quickly pour it through a sieve into the bowl with the chocolate.  Use a whisk to stir until the chocolate is melted and the mixture is smooth.  If your chocolate isn’t quite melted, put the bowl over a pan of simmering water and stir until smooth.
Add the coffee, vanilla or other extract, salt, and liqueur and whisk until smooth.  Chill the mixture for at least 45 minutes, until firm enough to scoop.
When the mixture is firm, use a melon baller or small ice cream scoop to form balls, and place them on a sheet of parchment paper.  Don’t worry if the balls aren’t totally round and smooth; you will have a chance to perfect them later.
Chill the balls for about 15 minutes, then roll them in cocoa and mold them into spheres.  Chill overnight is possible, then roll in powdered sugar before serving.  Or, roll yours in a mix of cocoa and powdered sugar like I did.  Alternately, place in the freezer for about 15 minutes, then dip into a melted chocolate of your choice.


Vegan Coconut Almond Truffles

Ingredients:
       3.5 ounces bittersweet chocolate (check the label to make sure the brand you’re buying doesn’t have any milk products)
       3.5 ounces semisweet chocolate
       ½ cup coconut milk
       ½ teaspoon vanilla
       ½ teaspoon almond extract
       1 tablespoon brewed coffee
       Pinch of salt
       4 tablespoons shredded coconut
       4 tablespoons sliced almonds
Melt the chocolate as described in the recipe above, using coconut milk instead of cream.  Add the extracts, coffee, and salt and whisk to combine.
Grind the coconut and almonds in the food processor until fine.  Stir half of the nut mixture into the chocolate and save the rest for rolling.
Proceed as in the above recipe, chilling the chocolate mixture before forming it into balls.  Instead of cocoa, roll the chocolates in the coconut and almond mixture.

Filed Under: gluten free, recipe, vegan Tagged With: almond, candy, chocolate, coconut, DIY, make your own

Chocolate Mousse with a Secret Ingredient

April 5, 2013 By Becky 2 Comments

Here it is…another fabulous vegan dessert!  You
have to try this.  It’s easier than easy, and super delicious.  No
cooking is involved, and it comes together in less than five minutes.

So, I told you it’s vegan.  Can you guess what
the secret ingredient is? I will give you one hint: it’s not avocado
(although I have been wanting to try this recipe for chocolate avocado pudding).

Here’s a picture of the process:

Have you figured it out?  It’s coconut cream!
 Isn’t that crazy?  Maybe you already knew about this whipped coconut
cream miracle, but I had no idea until I saw this photo tutorial
the other day. Today after dinner (I tried to make shrimp korma—it was
pretty good but I want to tweak the recipe before I share it with you) I
had an extra can of coconut milk and a hankering to try it.  But, I
felt like it would be lame to just make and eat a bowl of whipped
coconut cream.  So, I searched for a dessert featuring this amazing
stuff, and found and adapted this recipe from
Baking Chic.  If you have a can of coconut milk, go put it in the
refrigerator right now so you can make this tomorrow.  If you don’t have
a can of coconut milk, go out and buy one, then put it in the
refrigerator so you can make this tomorrow.  If you’re in a big hurry,
put your can in the freezer so you can make this in half an hour.

Ingredients (serves one):

Cream from one can of coconut milk, chilled
1-3 tablespoons cocoa, to taste
1-3 tablespoons sugar, to taste
1/2 teaspoon vanilla

Open the can of coconut milk, and spoon the hardened cream off the
top.  Save the liquid for something else, like a smoothie.  Using an
electric mixer, whip the coconut cream until fluffy.  Mix in sugar to
taste and vanilla.  The original recipe called for three tablespoons of
sugar, but I thought that would be way too sweet once I saw how little
cream I had (maybe the yield varies by can).  Mine was perfect with a
tablespoon and an extra teaspoon of sugar.  Set aside a few tablespoons
of the whipped cream to use as a topping.  Mix in the cocoa to taste (I
used a tablespoon and a half).  Serve the chocolate mousse with the
reserved whipped cream on top.


Filed Under: gluten free, recipe, vegan Tagged With: chocolate, coconut, five ingredients or less

  • « Previous Page
  • 1
  • …
  • 3
  • 4
  • 5

Hi, I’m Becky!

Welcome to A Calculated Whisk, where I share creative paleo and gluten-free recipes. Learn more about me here.

Connect with ACW on social media:

  • Email
  • Facebook
  • Instagram
  • Pinterest
  • RSS
  • Twitter

Looking for something?

Subscribe via email and get a free e-book!

Instant Pot Recipes

Instant Pot Colcannon

Instant Pot Colcannon

Instant Pot Balsamic Short Ribs

Instant Pot Tomato Sauce (made with fresh tomatoes)

Instant Pot Short Rib Ragu

Instant Pot Short Rib Ragu

In a hurry? Try these 30-minute recipes:

Huevos Divorciados with Sweet Potato Hash

Huevos Divorciados + Salsa Verde

Berry Peachy Kale Salad with Candied Pecans

Summer Kale Salad with Peaches and Candied Pecans

Thai Basil Noodles with Beef (Drunken Noodles)

Thai Basil Noodles with Beef (Drunken Noodles)

Shrimp & Sausage Gumbo (Instant Pot or Not)

my healthy aperture gallery
rodelle brand ambassador

Privacy Policy

All text and photographs (c) Rebecca Winkler 2013-2020 unless otherwise noted.

Copyright 2013-2020 Rebecca Winkler · Foodie Pro Theme by Shay Bocks · Genesis Framework · Powered by Wordpress