A Calculated Whisk

Creative paleo and gluten-free recipes

  • Home
  • About Me
    • Photography Portfolio
  • Cookbook
  • Recipe Index
  • Paleo
    • Paleo Eating
    • A Paleo Pantry
  • Blogging
You are here: Home / Archives for lemon

Make Your Own Preserved Lemons

April 27, 2013 By Becky 4 Comments

How gorgeous is all this?  I have never tried preserved lemons, but was inspired by this post to bottle some up right away.  I’m really into lemons right now, and in a month or so, I will have a unique ingredient to use in tagines and other dishes.  Here are some of the recipes I can’t wait to make once my lemons are ready:

 Chicken Tagine with Preserved Lemons and Olives

Preserved Lemon and Chickpea Pasta with Parsley Pesto

Roast Cornish Game Hens with Preserved Lemon and Bay Leaf Butter

Preserved Lemon Semifreddo with Basil Syrup

Fish Tacos with Preserved Lemons

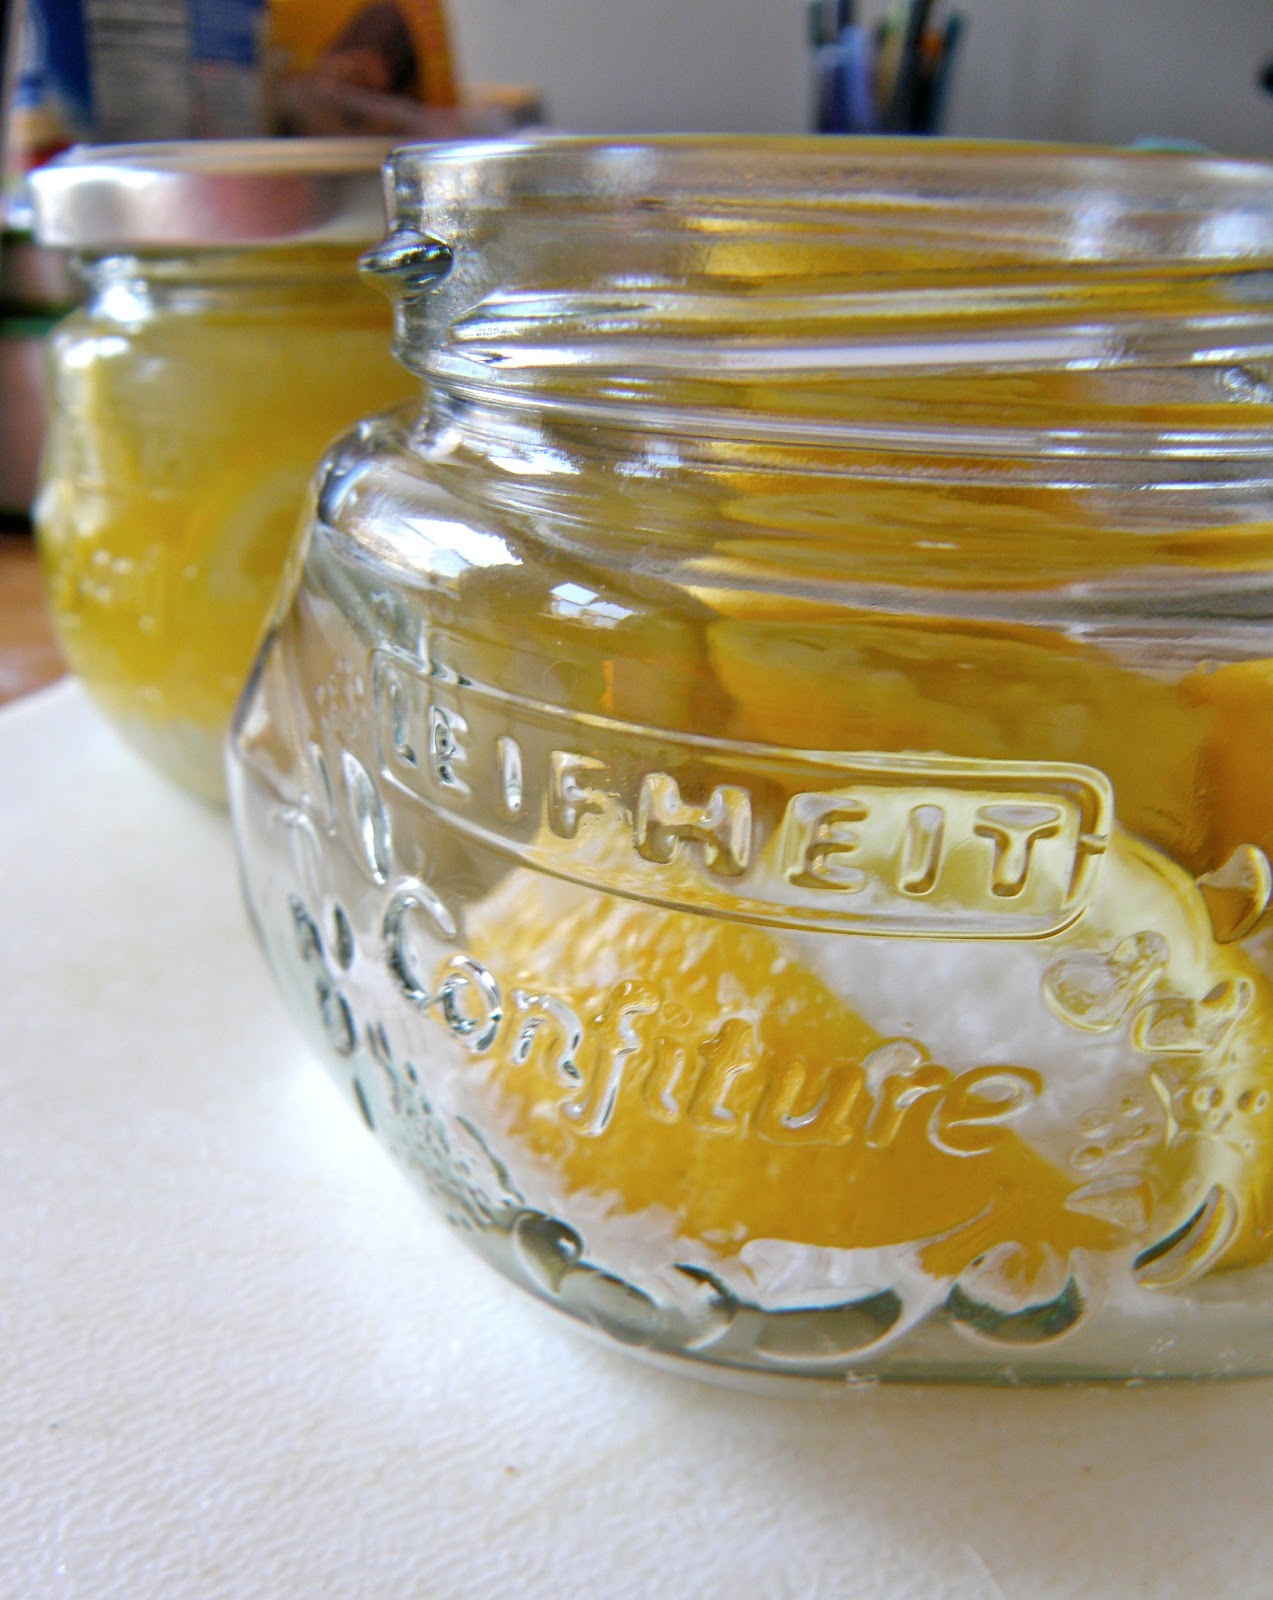
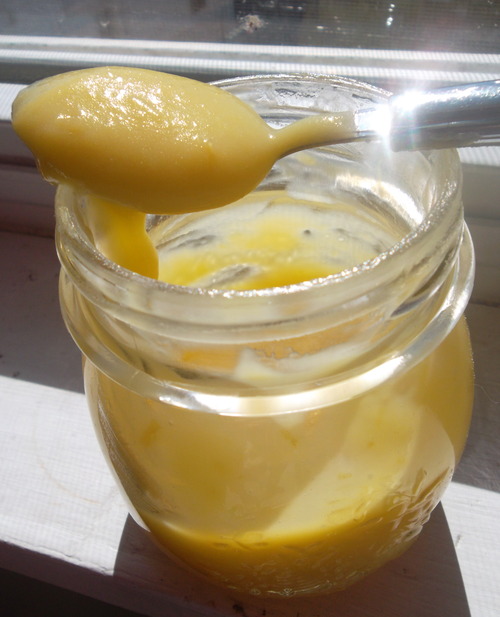
Okay, have I convinced you?  Bonus: preserved lemons are really easy and fun to make.  I made a jar for myself and a jar to give as a gift.  All you need is a jar or two, a bunch of lemons, and some sea salt.

Ingredients (from The Year in Food): 

8-10 organic lemons (depending on how big your jar is)
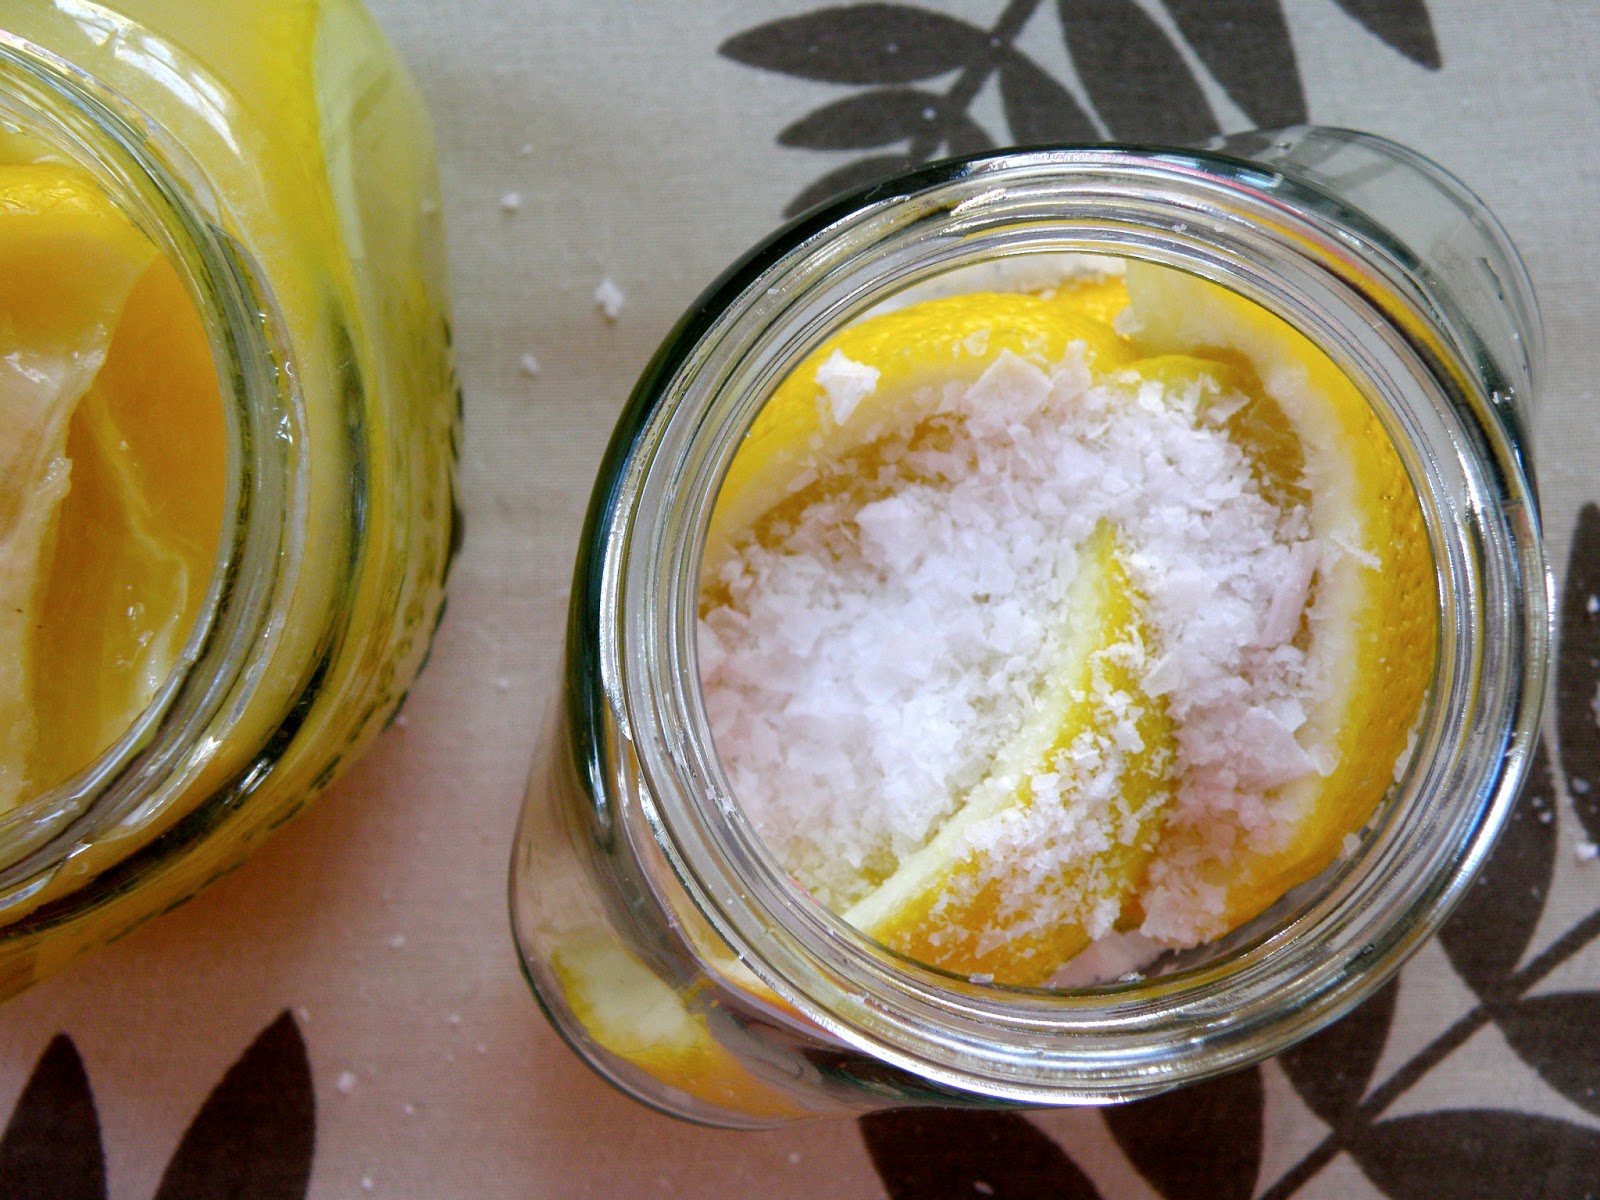
about 1/2 cup sea salt (I used Maldon)

Start by sterilizing your jars and lids by boiling them in a big pot of water for 10 minutes.  Drain, and make sure the lids are dry.  Wash and dry your lemons well.
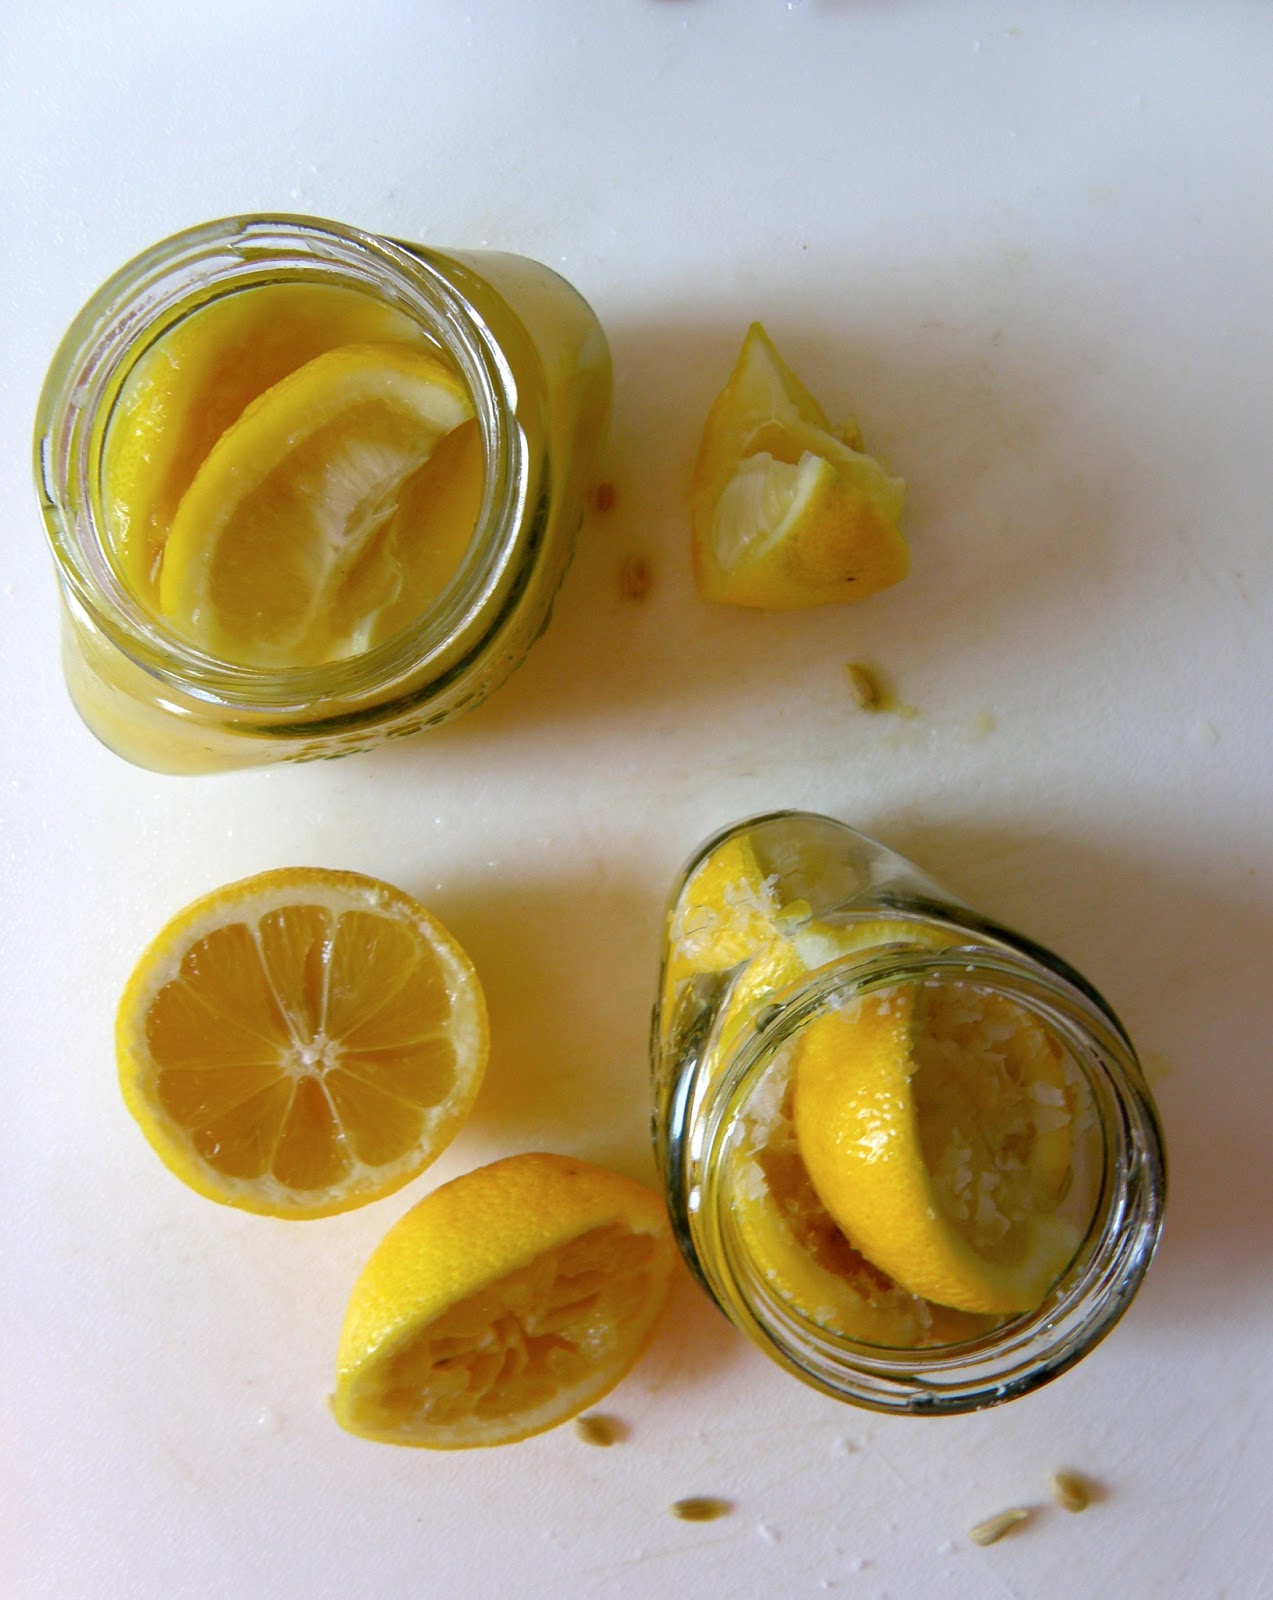
Cut half of your lemons into six wedges each (the remaining lemons will be used for juice).  Layer some wedges on the bottom of the jar, then sprinkle generously with salt.  Repeat until you have filled your jar.  Don’t skimp on the salt!  
Roll the other lemons under the palm of your hand so they will release more juice.  Squeeze them into the jar until it’s full.
That’s it!  Store your jar at room temperature, shake it every day or so, and open up the jar every few days to let the lemons breathe.  After a month, the lemons will be ready to use and can be stored in the fridge for a longer shelf life.

Filed Under: recipe, uncategorized Tagged With: condiments, DIY, five ingredients or less, lemon, make your own, preserves

Lemon Coconut Cupcakes

March 31, 2013 By Becky Leave a Comment


I love cupcakes!  I love them so much that I
named a kitten after them (she was the size of a cupcake when I found
her, so it totally makes sense).  To go with my lemon kick, I decided to
create these lemon coconut cupcakes.  The bird’s nest idea comes from
Martha and can be found here, and the recipe is inspired by Ina’s in the Barefoot Contessa cookbook and Gaby’s found here.
 I know this may not be getting out there in time to be part of your
Easter dinner, but with regular decorating these could be enjoyed
anytime.


Ingredients (makes 18 cupcakes):

1/2 lb butter (2 sticks) at room temperature
1 3/4 cups sugar
2 1/2 cups flour
1 teaspoon lemon zest
3 teaspoons lemon juice
5 eggs at room temperature
1 teaspoon baking powder
1/2 teaspoon baking soda
1/2 teaspoon salt
1 cup coconut milk
3/4 cup sweetened shredded coconut 

Lemony Cream Cheese Frosting (makes enough for 18 cupcakes):

1/2 cup plus 3 tablespoons unsalted butter, at room temp
8 oz. Neufchatel cheese (or cream cheese), at room temp
Zest of one lemon
1/8 tsp. almond extract
1/4 tsp. vanilla extract
1 1/2 cups powdered sugar

To fill and decorate: 

1 cup lemon curd(about half a recipe)

1 cup toasted sweetened shredded coconut

1 recipe cream cheese frosting

Cadbury mini eggs or other candy eggs

To make the cupcakes:

1.  Preheat the oven to 325.  Cream the butter and sugar in an stand
mixer fitted with the paddle attachment.  With the mixer on low, add the
eggs one at a time, then add the lemon zest and juice.
2.   Sift together the flour, baking soda, baking powder, and salt.
3.   Add the dry ingredients to to the mixer in three parts, alternating with the coconut milk, and mix just until combined.
4.   Fold in the coconut.
5.   Divide the batter among the cupcake cups, and bake for 20-25 minutes or until a toothpick comes out clean.

To make the frosting:
Cream the softened butter and cream cheese together.  Sift in the powdered sugar.  Add the lemon zest and extracts and mix well.

To fill and decorate:

When the cupcakes are done, cool them completely.  Use a paring knife
to cut a cone-shaped piece out of the top of each cupcake, making sure
not to cut all the way down to the bottom.  Use a small spoon to fill
the empty cones with lemon curd (and have fun eating the little
cone-shaped pieces of cake!  No one is going to miss those!).

Transfer the frosting to a large ziploc bag, and cut off the tip of one corner to make a dime-sized hole.  Pipe a circle of frosting onto the outer edge of each cupcake.  Sprinkle toasted coconut on top to cover.  (To toast coconut, cook it in a dry skillet over medium-low heat until golden brown, about 8 minutes.  Don’t turn your back on it because it burns easily.)   Then, place 3 Cadbury mini eggs in the middle of each nest.

Filed Under: uncategorized Tagged With: baking, coconut, cupcakes, Easter, lemon

Make Your Own Lemon Curd (and welcome to my blog)

March 28, 2013 By Becky Leave a Comment

Hi, I’m Becky and this is my new blog.  The
first recipe I’m going to share with you is for homemade lemon curd.
While you may not think you need to make this unless you’re planning on
hosting a high tea, I’m going to try to convince you that you actually
need to make it right now.  This stuff is ridiculously delicious, plus
easy and fun to make.  I made mine to pipe inside the lemon coconut
cupcakes I’m making for Easter dinner, but I’m worried I might have to
make a second batch.  I’ve been sneaking spoonfuls at every opportunity,
and my boyfriend and I each had a generous dollop on the Dutch babies I
made for breakfast this morning (recipe for that is here).
If you love lemon like I do, you have to try this!  It would be
fabulous on scones.  I’ve never made scones, but will have to try it if I
end up with any lemon curd left at all.

This recipe is adapted from Ina’s, in the Barefoot Contessa cookbook and here.
I reduced the sugar, and think mine has the perfect balance of sweet
and tart flavors.  She says you can make this with oranges or limes
instead of lemons—let me know if you try it!


Ingredients (makes about two cups):

4 lemons, at room temperature

1 cup sugar

4 extra-large eggs, at room temperature

1/4 pound butter (1 stick) at room temperature

Generous pinch of salt


1.   Zest the lemons, avoiding the white
pith underneath the yellow rind (I usually scrape each spot across the
grater twice).  Place the zest in a food processor with the sugar, and
process thoroughly to break the zest up into tiny pieces.

2.   Juice the lemons (roll them under the palm of your hand first so
they’ll release more juice) until you have 1/2 cup of lemon juice.  I
had to use all four lemons to get that much juice.

3.   Cream the butter with the lemon sugar (I used my stand mixer
with the paddle attachment).  Add the eggs one at a time, and then the
lemon juice and salt.  Mix well.

4.   Transfer the mixture to a saucepan.  At this point, it probably
looks like a big mess.  Mine looked like curdled milk.  Maybe lemon curd
is named after its gruesome looks at this stage in the process? Don’t
worry though, your lemon curd will smooth right out as soon as it heats
up.

5.   Cook the lemon curd over low heat, stirring constantly, until it
thickens (10-15 minutes).  I used a thermometer to keep tabs on
things—my lemon curd thickened around 155 degrees, and you don’t want to
let yours get much above 175.

That’s it!  You made lemon curd.  Now, try not to just eat all of it
with a spoon.  I cooled mine and poured it into jars—it will keep for a
couple of weeks in the refrigerator, although I can’t see it ever
lasting that long at my apartment.  Tomorrow I’ll be piping mine into
some springtime coconut cupcakes—I’ll let you know how it goes and share
the recipe soon!

Filed Under: breakfast, recipe Tagged With: DIY, five ingredients or less, lemon, make your own

  • « Previous Page
  • 1
  • 2
  • 3

Hi, I’m Becky!

Welcome to A Calculated Whisk, where I share creative paleo and gluten-free recipes. Learn more about me here.

Connect with ACW on social media:

  • Email
  • Facebook
  • Instagram
  • Pinterest
  • RSS
  • Twitter

Looking for something?

Subscribe via email and get a free e-book!

Instant Pot Recipes

Instant Pot Colcannon

Instant Pot Colcannon

Instant Pot Balsamic Short Ribs

Instant Pot Tomato Sauce (made with fresh tomatoes)

Instant Pot Short Rib Ragu

Instant Pot Short Rib Ragu

In a hurry? Try these 30-minute recipes:

Burmese Chili Prawns with Cucumber and Avocado Salad (Paleo, Gluten free)

Burmese Chile Prawns with Cucumber and Avocado Salad

Picadillo with Plantains from Well Fed Weeknights (Paleo, Whole30)

Picadillo with Plantains from Well Fed Weeknights

Thai Basil Noodles with Beef (Drunken Noodles)

Thai Basil Noodles with Beef (Drunken Noodles)

Caprese Frittata

Caprese Frittata

my healthy aperture gallery
rodelle brand ambassador

Privacy Policy

All text and photographs (c) Rebecca Winkler 2013-2020 unless otherwise noted.

Copyright 2013-2020 Rebecca Winkler · Foodie Pro Theme by Shay Bocks · Genesis Framework · Powered by Wordpress