Ingredients (makes about 15 truffles):
For the cheesecake filling:
1 lemon
8 ounces cream cheese
Pinch of salt
1 cup powdered sugar
A few drops of vanilla
For the topping:
3 tablespoons granulated sugar
For the chocolate coating:
7 ounces bittersweet chocolate, chopped
1/2 teaspoon vegetable oil
A few drops of vanilla
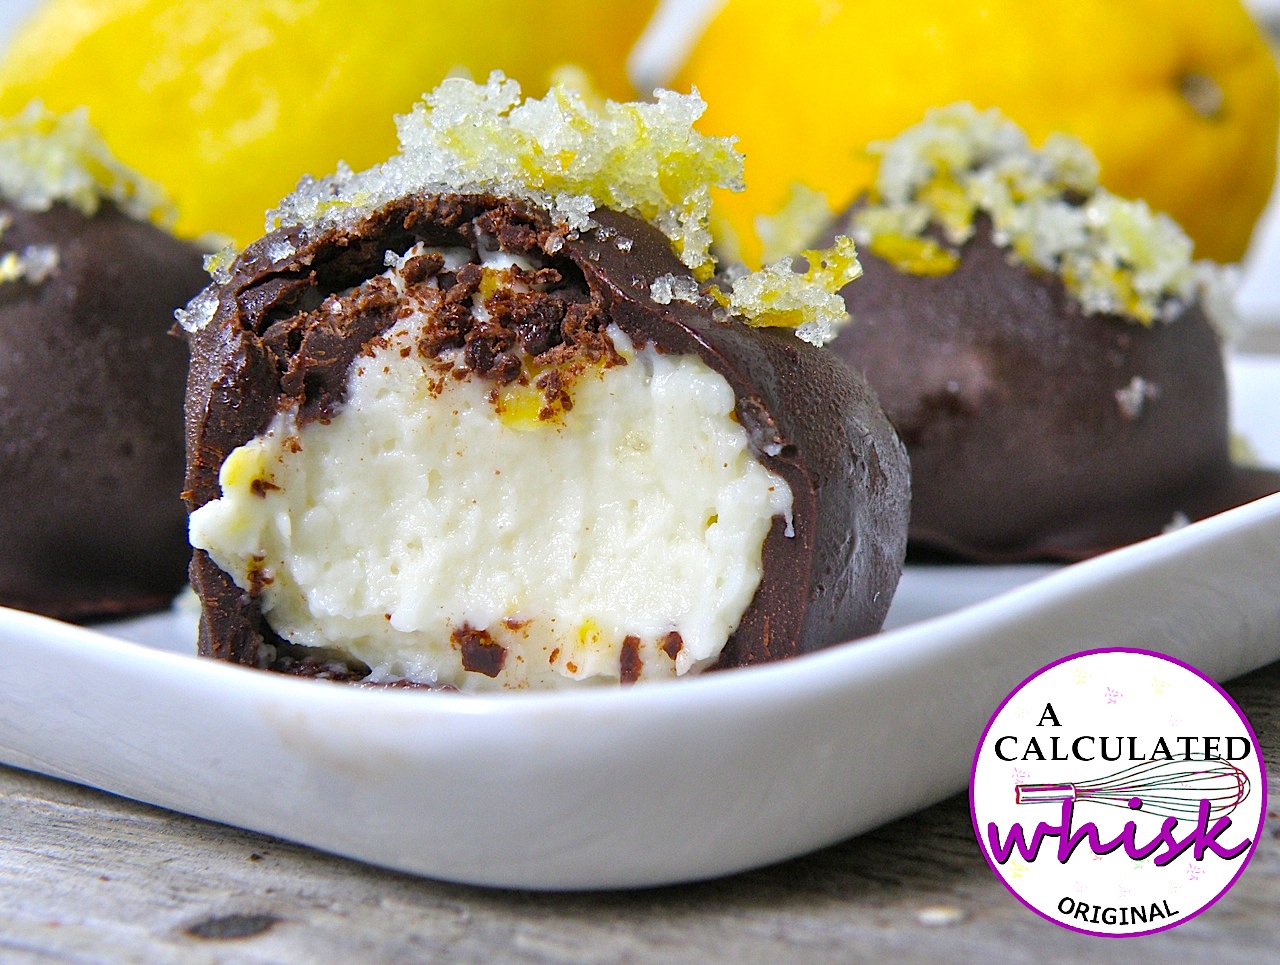
Zest the lemon. Set aside half the zest and toss it to coat with the granulated sugar to make the topping. Spread the lemon sugar out on a plate in a thin layer so it can dry out a little. You definitely don’t want to skip this part, because the crunchy, zesty sugar is going to take these truffles from delicious to ridiculous.
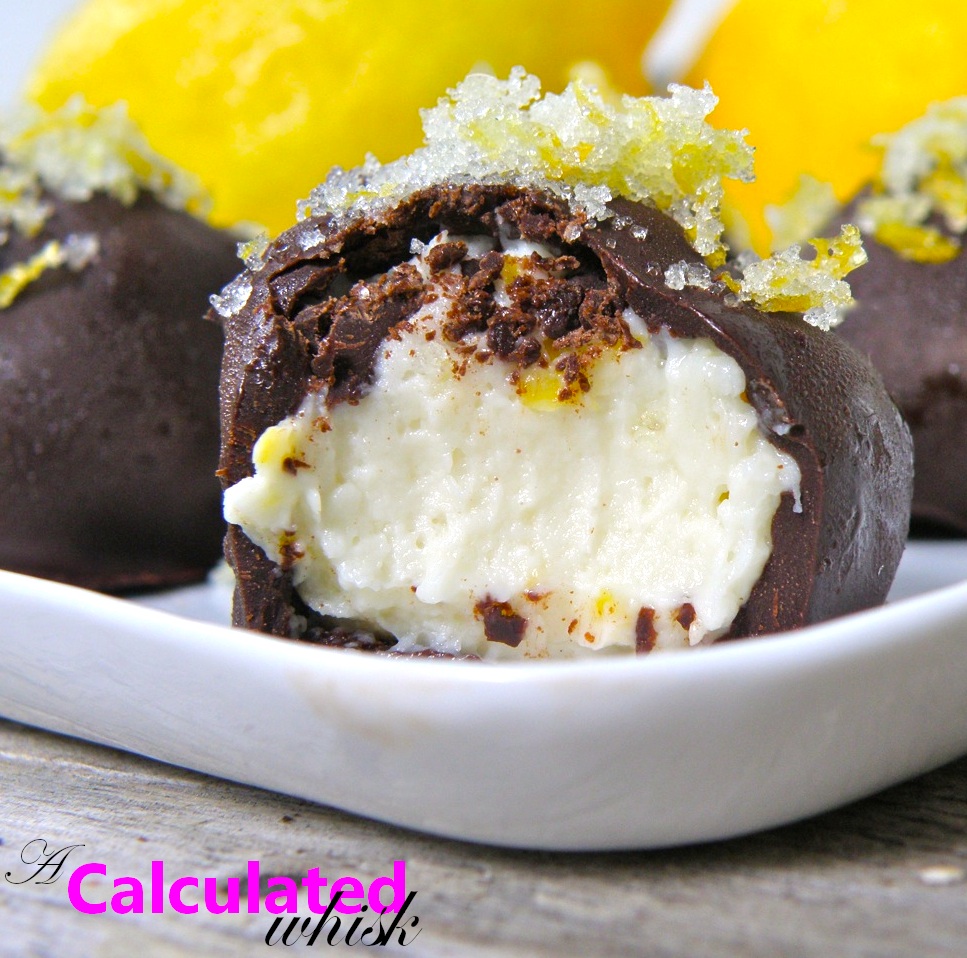
Place the other half of the zest in a medium bowl with the cream cheese, salt, sugar, and vanilla. Juice the lemon to obtain three tablespoons of juice, and add them to the bowl, making sure to strain out any seeds. Use a fork to cream this mixture until well combined. Cover the mixture and place it in the freezer for half an hour or so to firm up.
Line a baking sheet with parchment or wax paper. Use a spoon and your fingers to form rounded teaspoon-sized balls of cheesecake mixture and place them on the parchment-lined cookie sheet. Don’t worry if the balls aren’t perfect, because you will have a chance to smooth them out later. Freeze the balls for at least two hours so they’re totally firm.
When your truffles are almost frozen, it’s time to melt the chocolate. Place the chopped chocolate, oil, and vanilla in a microwaveable bowl. The oil is just there to help make the chocolate coating a little bit shiny. Microwave the bowl in thirty-second intervals, stirring in between, until almost melted. Stir until the chocolate is completely smooth. Set the chocolate aside to cool for a few minutes before you dip your truffles.
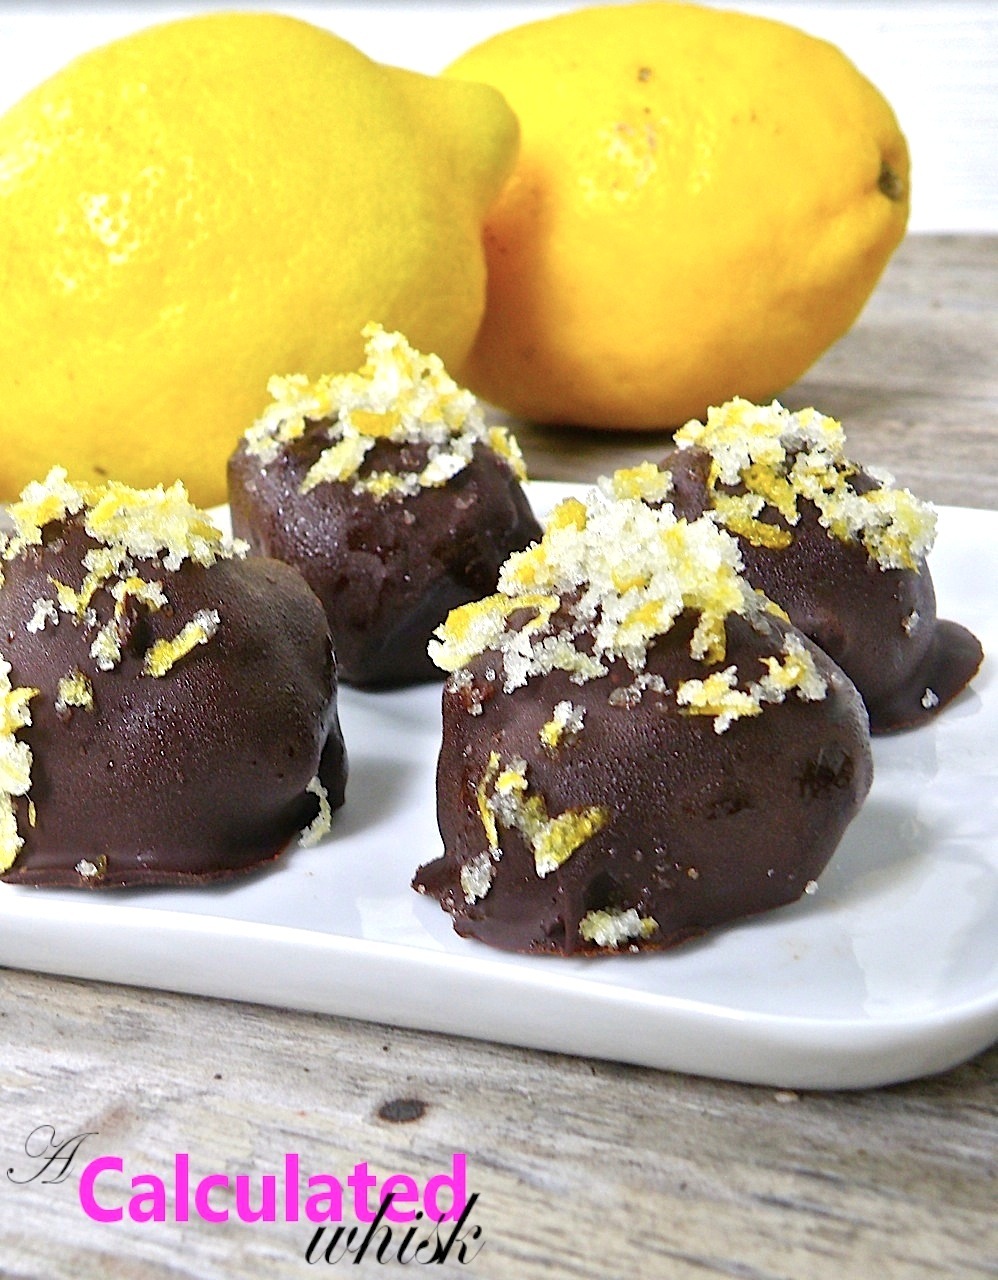
Line another baking sheet with parchment or wax paper so you’ll have a spot for your dipped truffles. Take the truffles out of the freezer. Working with one ball at a time, roll it quickly between your palms to round it out, then drop it in the chocolate, turning it a little to fully coat it. Use a fork to carefully fish the truffle out of the chocolate. Let the excess chocolate drip off, then carefully transfer the truffle to the parchment paper. Sprinkle the top of the truffle with a little lemon sugar right away. You don’t want to wait until you’ve dipped all the truffles because once the chocolate is hardened the lemon sugar won’t stick.
Once you’ve dipped all the truffles, place the baking sheet in the refrigerator for about half an hour so the chocolate can set. When the truffles are set, they are ready to eat. If you won’t be enjoying them right away, store the truffles in an airtight container in the refrigerator for up to a week.

I made these tonight, and they were absolutely fabulous!! Thanks for the recipe.
You're welcome, Abby! I am so glad you liked them 🙂